Last Updated on September 9, 2026 by Practical Astrophotography Staff
Astrophotography is one of those pursuits that balances art and science in nearly equal measure. Most of the work on this site lives on the deep-sky side of that balance: telescopes, mounts, Calibration frames, and long integrations on faint objects. Aurora photography sits in a different corner of the same hobby. The subject is bright enough to shoot with a camera and a lens. It also moves. It can fill the sky in minutes and vanish just as fast. That combination rewards a different kind of preparation.
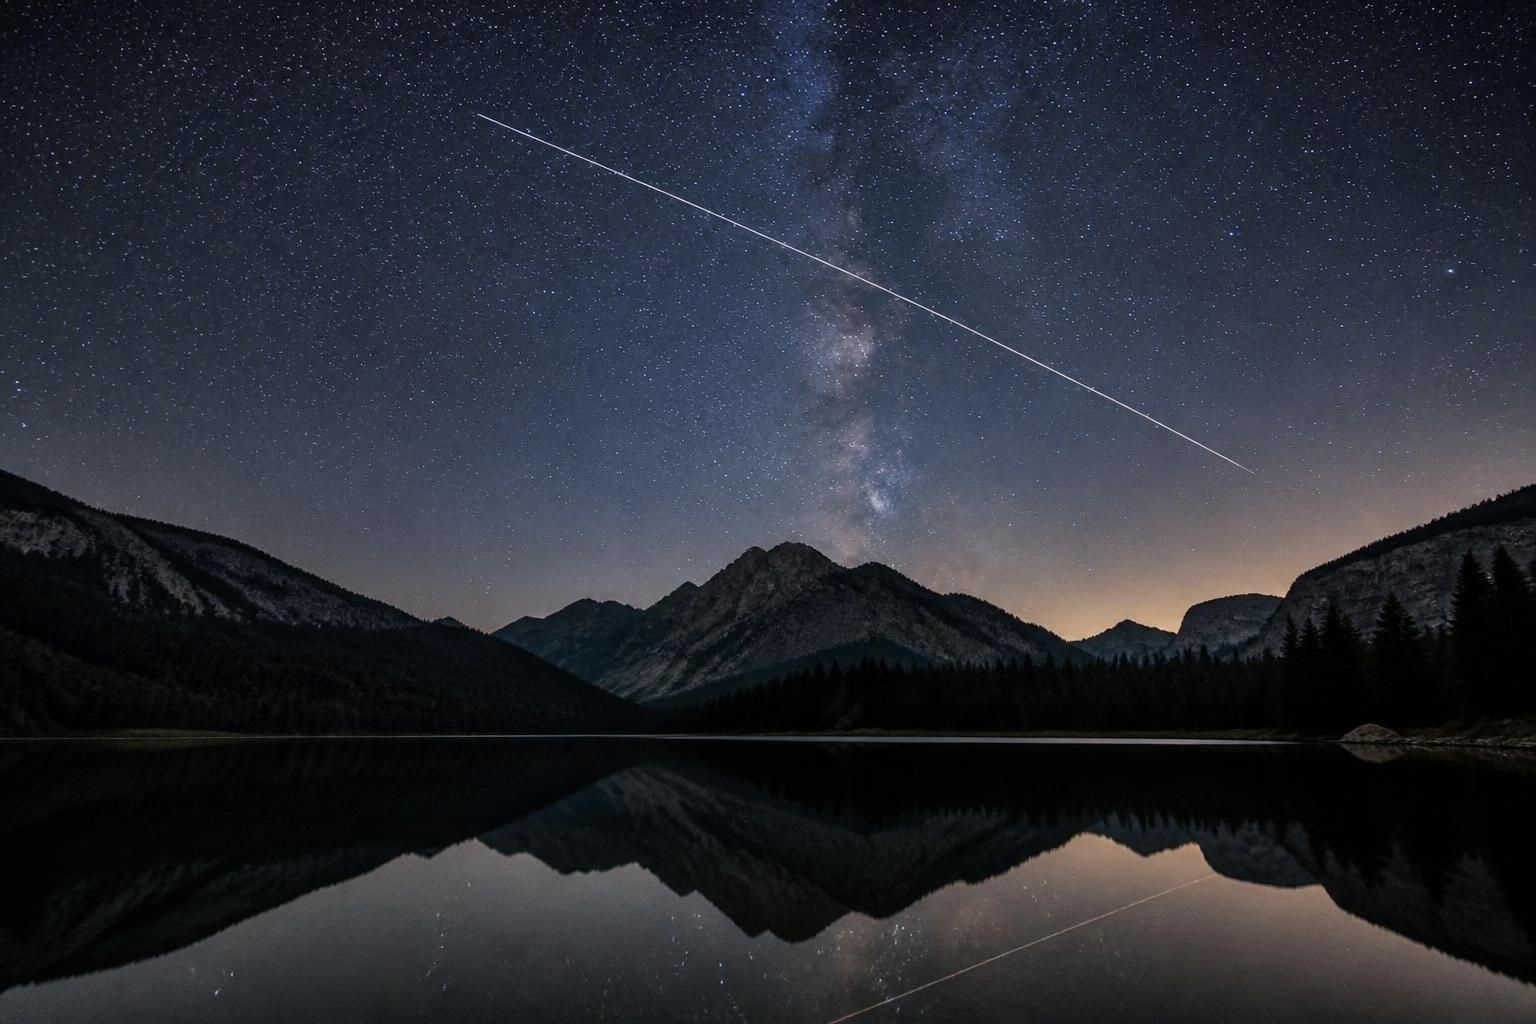
September is one of the better times of year to take that work seriously. Around the equinox, geomagnetic activity tends to rise. The Milky Way’s core is also making its last easy evening appearances for northern observers. You can, on the right night, plan a wide-field session that includes both. This guide is about the aurora half of that opportunity: how to know when it is worth going out, what to bring, how to set the camera, and how to avoid the mistakes that turn a historic display into a blurry green smear.
Why equinox nights matter
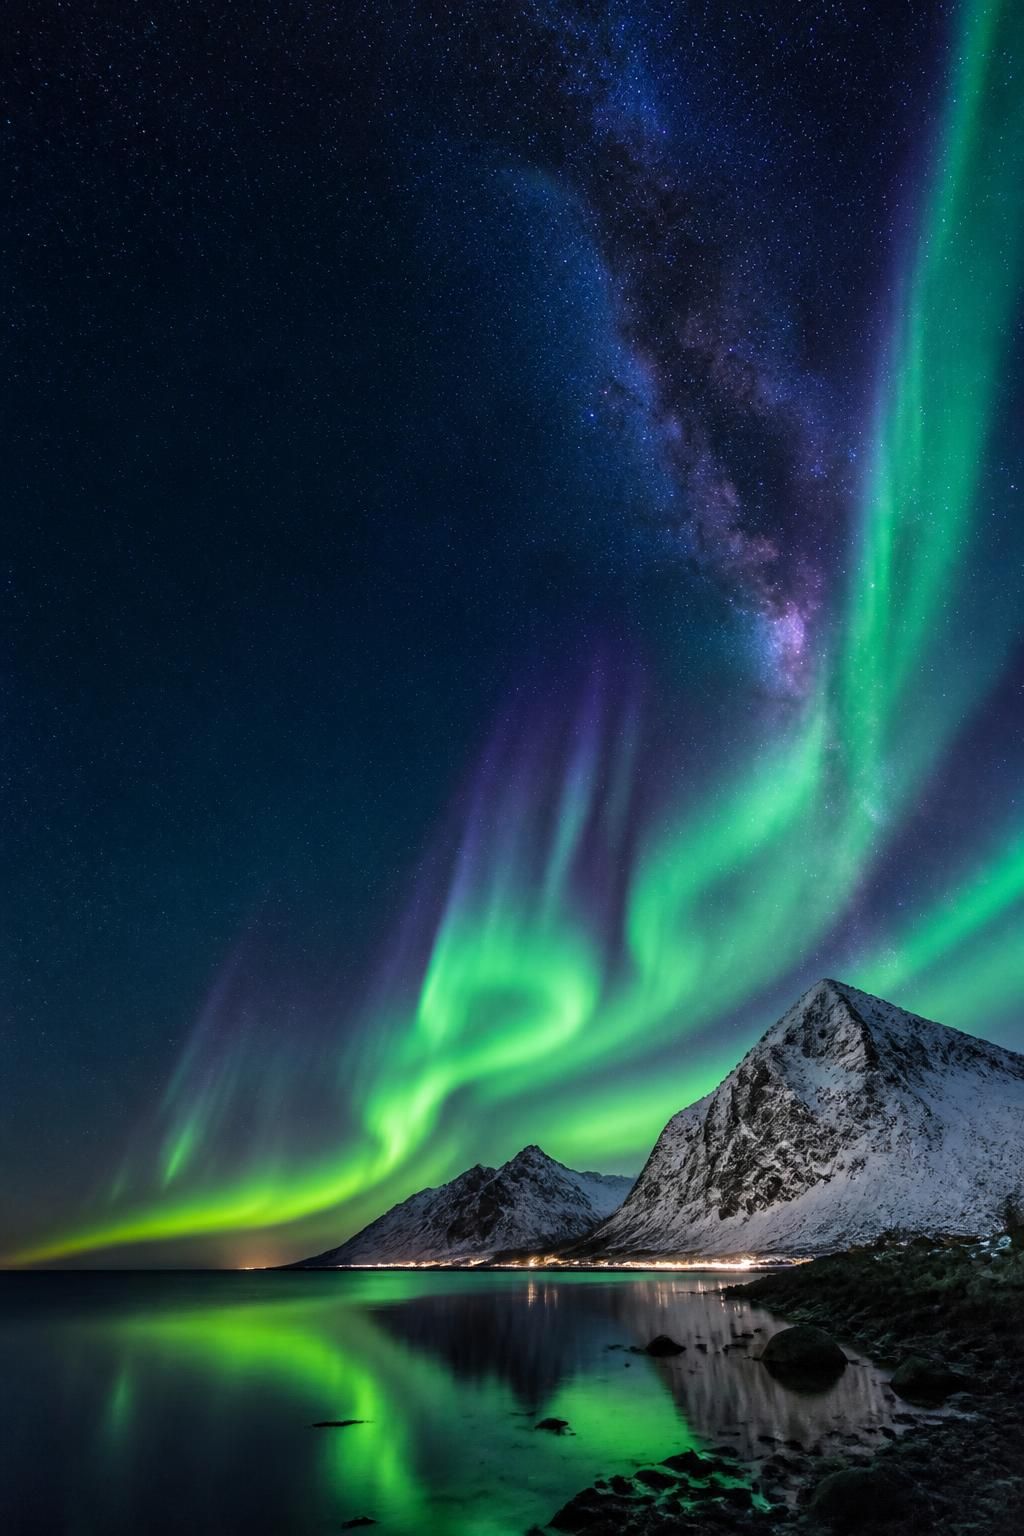
Aurora is caused by charged particles from the Sun interacting with Earth’s magnetic field and upper atmosphere. The visible result is emission from oxygen and nitrogen, most often green, sometimes red, magenta, or rare deep blue. Strength is commonly discussed with the Kp index, a 0-to-9 scale of geomagnetic disturbance. Higher Kp means the oval expands toward lower latitudes.
That does not mean you should only go out at Kp 7. A Kp 3 display over a dark northern site can be more photogenic than a Kp 6 display washed by moonlight and city glow. What the equinox adds is probability. The weeks around March and September have a long-standing statistical edge. Combined with the declining-but-still-active phase of Solar Cycle 25, 2026 remains a productive year for mid-latitude observers who spent the previous decade assuming aurora was something that happened in Norway.
Mid-latitude in this context means a much larger slice of the northern United States, southern Canada, the British Isles, and northern Europe than textbooks from ten years ago implied. Southern aurora, the aurora australis, follows the same physics with a smaller land-based audience. The camera craft is identical.
How to decide whether to drive
Three forecasts matter more than social-media screenshots.
Watch a planetary K-index and a short-term nowcast from a source such as NOAA’s Space Weather Prediction Center. Kp tells you the scale of the disturbance. The nowcast and satellite data at L1 tell you whether a storm is arriving in the next hour rather than the next day.
Check Bz, the north-south component of the interplanetary magnetic field. A sustained southward Bz is what actually couples solar wind energy into Earth’s magnetosphere. A high Kp forecast with northward Bz often under-delivers. A modest forecast with a sudden southward turn can over-deliver.
Look at local conditions with the same honesty you would use for a Milky Way shoot. Cloud cover, moonlight, and light pollution still govern the image. A bright Moon will not always kill an aurora — a strong display can overpower it — but it will flatten contrast and steal the fainter reds. Dark skies to the north (or south, in the Southern Hemisphere) matter more than a perfectly dark zenith.
Have a go-to site picked before the alert hits. Aurora does not wait while you argue about parking. A northern horizon over water, a ridge, or open farmland is more useful than a photogenic tree that sits under a sodium-vapor glow.
Gear that actually matters
You do not need a telescope. You need a camera that can be used in full manual mode, a fast wide lens, a stable tripod, and a way to trigger the shutter without shaking the camera.
Full-frame bodies have an advantage at high ISO, which is why they dominate competition nightscapes. A modern APS-C mirrorless camera is still entirely capable. What you should not use as your primary body is a camera that falls apart at ISO 1600. Phone night modes can record a bright display and are worth keeping as a backup. They are not a substitute for a raw file from a fast lens when the curtains start moving.
Lens choice is the decision that shows up in the picture. A 14mm to 24mm lens on full frame, or the equivalent on crop, is the usual working range. Faster is better. An f/1.8 or f/2.8 wide zoom will collect enough light to keep shutter speeds short when the aurora is dancing. An f/4 kit lens can work on a slow, bright display. It will struggle when the structure is moving and you need 3-second exposures.
A sturdy tripod is not optional. Aurora exposures are long enough for a cheap tripod to sway in wind and short enough that you will be adjusting composition all night. A simple intervalometer or the camera’s two-second timer is enough. Bring spare batteries. Cold nights and live view drain them. A dim red headlamp, a lens cloth, and a second memory card are the unglamorous items that save sessions.
A star tracker is optional, not required. For classic aurora-and-landscape images you usually want the land sharp and the sky as it appeared, which means a fixed tripod. Trackers help when the aurora is a faint glow and you want cleaner stars in a longer exposure, or when you are shooting a panorama you will later blend. If you already own a tracker from Milky Way work, take it. Do not delay a first aurora chase to buy one.
Camera settings that hold up in the field
There is no single correct exposure. There is a starting point and a rule for changing it.
Set the camera to manual exposure, manual focus, raw files, and electronic first-curtain or full mechanical shutter, depending on which one is cleaner on your body. Turn lens and body stabilization off on a locked tripod. Set white balance around 3500K to 4000K if you want a usable JPEG preview. The raw file can be corrected later. Auto white balance on aurora often swings magenta or green from frame to frame.
Open the lens to f/2.8 or wider. Stop down only if the corners are unacceptable or you need more depth of field for a close foreground. Start at ISO 1600 on full frame, ISO 1600 to 3200 on APS-C. Then set shutter speed to match the motion.
That last sentence is the whole technique. A slow, diffuse glow can take 10 to 20 seconds. A structured, moving curtain wants 3 to 8 seconds. A fast substorm, the kind that folds and flickers, may need 1 to 4 seconds and a higher ISO. If you can see the aurora changing shape with your eyes, your shutter is probably too long.
A practical starting trio for a moderate display on a 16mm to 20mm full-frame lens is f/2.8, ISO 1600, 8 seconds. Take the frame. Zoom in on the LCD. If the pillars are smeared, shorten the shutter and raise ISO. If the file is noisy and the aurora looks static, lengthen the shutter before you crank ISO further. Expose to protect the brightest columns. Blown green highlights are difficult to recover and look worse than a slightly dark raw file.
Focus is the other place sessions die. Autofocus will hunt in the dark. Switch to manual. Use live view at maximum magnification on a bright star or a distant light, then tape the focus ring if it drifts. Do this at the start of the night and check it again after temperature drops. Infinity marks on lenses are not reliable enough to trust without a test.
Composition when the sky is the subject
The aurora is the reason you drove, but a photograph still needs an anchor. A shoreline, a barn, a ridgeline, or even a simple silhouette keeps the image from becoming an abstract green field. Keep the horizon level. Leave room for pillars to rise. If the display is on the northern horizon, do not compose as if you were shooting the Milky Way core in the south.
Shoot more frames than you think you need. The best structure of the night often lasts less than a minute. A short burst of 8-second exposures is more useful than one carefully considered 20-second frame that smears the peak. If you want star points and a detailed foreground, consider a two-shot blend: a shorter exposure for the aurora and a longer, lower-ISO exposure for the land. That is optional. A single well-exposed frame is still a complete photograph.
Vertical orientations work when the pillars are tall. Horizontal orientations work when the oval stretches wall to wall. Both are worth trying on the same night. So is a wider panorama if the display wraps the horizon, with enough overlap that you can stitch later.
Processing without destroying the night
Aurora files respond well to a light hand. The common failure in processing is the same one that ruins Milky Way images: oversaturation and an aggressive contrast curve that turns a sky into neon.
Start with a raw converter. Correct the white balance so the snow, grass, or rock looks like itself rather than like a gel. Bring down the brightest green if it is clipping. Lift the shadows only until the foreground is readable. Noise reduction belongs after the global exposure is set, not before. Tools you already use for nightscapes — Lightroom, Camera Raw, or a more specialized stack — are enough.
Resist the urge to make every frame look like the strongest display of the solar cycle. Quiet aurora is still aurora. A faint arc over a recognizable landscape will outlast a crunchy, overcooked curtain that no longer resembles what you saw.
If you shot a sequence, you can later assemble a time-lapse or pick a single hero frame. Do not stack aurora frames the way you stack deep-sky subs unless you are deliberately after a motion-averaged glow. Stacking">Stacking moving curtains usually produces a green fog.
A note on safety and courtesy
Dark roads, cold, and divided attention are part of this work. Tell someone where you are going. Keep a car that can idle for heat if the site allows it, and do not point headlights across another photographer’s frame. Red lights only, and as little of that as you can manage. Aurora sites get crowded on the big nights. Arrive with a plan for where you can stand without blocking a trail or a driveway.
Check land access. A dark farm field is not public land just because it is dark. The same destination ethic that applies to parks in other articles on this site applies here.
Final thoughts
Aurora photography is one of the few branches of astrophotography where a beginner with a camera, a fast wide lens, and a tripod can make an image that stands next to work from people who own observatories. That is the appeal. It is also the trap. Because the subject can be spectacular, it is easy to ignore the craft: focus, shutter speed matched to motion, a clean foreground, and a file that still looks like a night sky after processing.
September and the surrounding weeks give you a better-than-average chance to practice that craft. Watch the forecasts, keep a bag packed, and treat the first frames of the night as tests rather than the picture. When the sky finally stands up, you will already know where focus lives and how short the shutter needs to be.
The deep-sky work will still be there on the next new Moon. The aurora will not. When the alert is real and the northern horizon is clear, go.