Last Updated on September 8, 2026 by Practical Astrophotography Staff
Are Smart Telescopes Worth It in 2026? A Practical Guide for Beginners and Traditional Imagers
Astrophotography has always occupied a unique space at the intersection of art and science. It demands technical precision, patience, and a willingness to learn systems that most camera owners never encounter. For decades, that learning curve was the price of admission. Polar Alignment, guiding, focus, Collimation, Calibration frames, and processing all had to be understood before a first decent deep-sky image appeared.
Smart telescopes were built to short-circuit that process. In 2026 they are no longer a novelty. They are one of the most searched and most argued-about categories in amateur astronomy. The question is no longer whether they exist. The question is whether they belong in your kit, and what they actually replace.
This article looks at the category from a practical standpoint: what these instruments do well, where they still fall short, which models make sense at each budget, and how a traditional imager should think about owning one.
What a smart telescope actually is
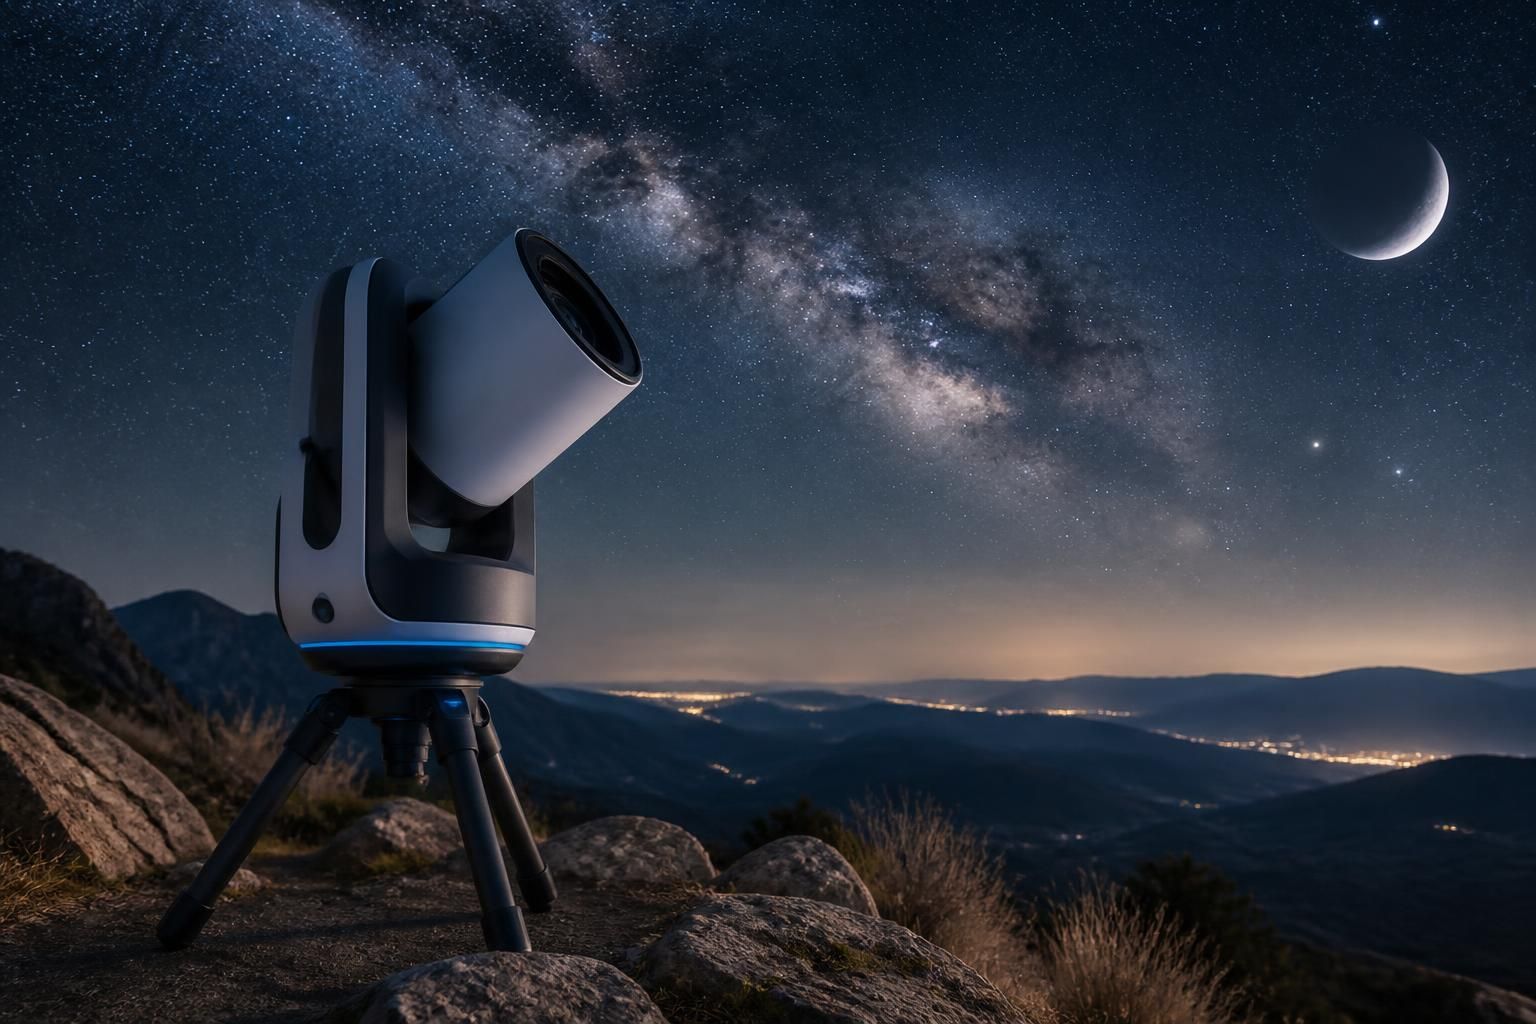
A smart telescope is an integrated imaging system. Optics, camera, mount, computer, battery, and often a dew heater live in one package. You set the unit down, connect a phone or tablet, let it plate-solve the sky, pick a target from a catalog, and watch a live stack build on the screen.
That last part is the real product. Traditional astrophotography separates acquisition from reward. You collect data for hours, then process it later. A smart telescope shows structure in a nebula within minutes. For a beginner, that feedback loop is powerful. For an experienced imager, it is a different kind of observing: less ritual, more time spent looking at the object.
Most current units are small refractors or compact catadioptric systems on alt-azimuth mounts. A few higher-end models add equatorial mode, field derotation, filter slots, or mosaic tiling. Almost all of them live or die by their app.
Why the category exploded
Three things happened at once. CMOS sensors became sensitive enough that a 30mm to 50mm optic could show emission nebulae from a suburban backyard. Plate-solving and Wi-Fi control became cheap enough to put in a consumer product. And the traditional beginner path — cheap equatorial mount, borrowed DSLR, mismatched guidescope — continued to frustrate people who wanted an image, not a second hobby in cable management.
Search interest followed the products. Queries around Seestar, Dwarf, “telescope that takes pictures,” and “smart telescope for beginners” now sit alongside older staples such as “best telescope for astrophotography” and “how to shoot the Milky Way.” The market answered with a full price ladder, roughly $400 to $5,000.
That range matters. A $500 smart scope and a $4,000 smart scope are not the same instrument with a different badge. They make different optical compromises, and they serve different owners.
What you can realistically capture
Expectations are where most disappointment starts. A well-used Seestar-class unit from a Bortle 5 or 6 backyard will produce recognizable images of bright emission nebulae, large galaxies such as M31 and M33, open clusters, and the brighter globulars. One or two hours of integration on a target like the Orion Nebula, the Pleiades, or the North America Nebula can look surprisingly good after a little extra processing outside the app.
What you will not get, at the budget end, is the fine dust structure, faint outer halos, and tight stars that a cooled 2600-class camera on a 70mm to 90mm apo can deliver. Aperture is still aperture. A 30mm or 50mm lens gathers a fraction of the light of an 80mm Refractor. Alt-azimuth Stacking also introduces field rotation, which limits single-sub length unless the unit has equatorial mode or derotation.
The premium tier changes the conversation. A 6-inch fast astrograph such as the Celestron Origin family is no longer a toy. It is an automated imaging system with real collecting area. The tradeoff is weight, price, and the fact that at that budget a conventional rig is also on the table.
Planetary imaging is a weaker fit for most smart telescopes. Small apertures and simplified cameras are built for deep-sky integration, not high-frame-rate lucky imaging. The Moon and brighter planets are fine for casual shots. Serious planetary work still belongs on a dedicated camera and a larger optic.
Wide-field Milky Way landscapes are also a mixed bag. Some dual-camera models include a short-focal-length second lens that can do nightscapes. A regular mirrorless body and a 14mm to 20mm lens will still beat them for landscape composition. Use the smart scope for objects. Use a camera for sky-and-foreground scenes.
The 2026 landscape, without the marketing fog
Models turn over quickly in this category. Rather than treat any single SKU as permanent, it is more useful to think in tiers.
Entry and travel, roughly $400 to $700. This is the Dwarf Mini, Dwarf 3, Seestar S30, and similar pocket units. They win on portability and price. They lose on aperture and, in some cases, app polish. They are ideal as a first taste of deep-sky imaging, a travel companion, or a “clear night, fifteen minutes of setup” instrument. If the question is “Can I try this hobby without buying a mount, camera, and guidescope?” this is the honest yes.
Enthusiast compact, roughly $700 to $1,300. Seestar S30 Pro, the newer Seestar S50-class successors, and mid-range Dwarflab models sit here. This is the sweet spot for most buyers in 2026. Better sensors, better optics, dew control, and in several cases equatorial mode make a visible difference on faint targets. If someone is going to own one smart telescope and actually use it, this is the range that tends to stay on the patio instead of in the closet.
Premium integrated, roughly $2,000 to $5,000. Vaonis Vespera-class units, Unistellar’s eyepiece models, and Celestron Origin-class systems. You are paying for larger or faster optics, better onboard processing, mosaic modes, and a more finished product. The Origin path in particular is the closest thing to “a real astrograph that happens to run itself.” Unistellar’s pitch is different: an electronic eyepiece that makes faint objects visible at the telescope, which is observing, not only imaging.
Prices move. Check current street prices before treating any number here as a shopping list. The tier logic holds even when a particular model is replaced.
Smart telescope versus a traditional beginner rig
This is the comparison people actually need.
A conventional starter imaging kit in 2026 still looks like a small apo or fast Newtonian, a competent equatorial mount, a one-shot-color or DSLR/mirrorless camera, and a simple guide setup. Done well, that kit will out-resolve and out-depth a compact smart telescope. It will also ask for polar alignment, balancing, cable routing, focus, and a processing workflow.
The smart telescope asks for a charged battery, a reasonably open southern or northern sky, and a phone. That is not a small difference. Many people who “fail” at beginner astrophotography do not fail at optics. They fail at the system. They buy the telescope first, under-mount it, skip guiding, and quit after a season of trailed stars.
If the goal is to learn the craft — polar alignment, calibration frames, Dithering, PixInsight or Siril — buy the traditional kit and accept the curriculum. This site already has guides on those exact skills for a reason. They still matter.
If the goal is to collect images of objects, stay interested, and maybe grow into a larger rig later, a smart telescope is a legitimate first instrument. It is also a legitimate second instrument for people who already own a full rig and want something they can deploy while the main system is imaging, or take on a trip where a mount and counterweights are not coming along.
The worst outcome is buying a premium smart telescope as a substitute for learning, then feeling boxed in when the app’s stacked JPEG is the only file you know how to use. Almost every current platform lets you export FITS or raw frames. Use that. Pull the data into Siril, PixInsight, or even a simple stretch in Photoshop. The hardware is only half the image.
Practical use: getting better results than the app default
The out-of-box live stack is designed to look good on a phone. It is rarely the best version of the data.
Shoot longer total integrations than the app’s “good enough” prompt. Thirty minutes on a bright nebula is a preview. Two hours is an image. If the unit supports equatorial mode, use it for anything beyond short sessions. Field rotation on an alt-az stack eats the corners and limits how hard you can stretch later.
Pay attention to sky quality the same way you would with any other camera. A smart telescope does not cancel light pollution. It just makes a washed-out image faster. Narrowband or dual-band filters, where the unit accepts them, are one of the highest-leverage upgrades for suburban users. Emission nebulae benefit immediately. Galaxies do not.
Focus and collimation still matter on units that allow it. Automatic focus is convenient and occasionally wrong. Check a bright star at the start of the night. Dew will ruin a session as efficiently on a $700 smart scope as on a $4,000 refractor. If the built-in heater is weak for your humidity, add a simple extra heater or a shield.
Process outside the app when you can. Even a basic workflow — gradient removal, a gentle stretch, color calibration, and noise reduction — will separate a snapshot from something you would post with a straight face. The people who say smart telescopes “all look the same” are often looking at untouched app JPEGs.
Who should buy one, and who should not
Buy one if you want a low-friction way to image from a backyard, balcony, or campsite. Buy one if you have tried the traditional path and stalled on the mount. Buy one if you already image and want a grab-and-go second system. Buy one for a family member who is curious and will not polar-align anything.
Do not buy one if you think it will match a cooled mono camera and a decent apo on faint galaxies. Do not buy the most expensive model in the category as a way to skip learning, unless you have a specific use for that aperture and automation. Do not buy one as your only instrument if planetary detail or serious Milky Way landscapes are the main goal.
And do not treat the purchase as a verdict on the hobby. Smart telescopes did not kill traditional astrophotography. They added an on-ramp. Some owners will stay on that on-ramp forever and be happy. Others will outgrow it in a season and show up later with an equatorial mount and a shopping list. Both paths are valid.
Final thoughts
The practical test is simple. Will this instrument be outside on the next clear night?
For a large number of beginners in 2026, the honest answer is yes — and that is a change from the era when a first imaging setup spent more time being assembled than collecting photons. Convenience is not a dirty word in a hobby that already asks for dark skies, stable weather, and hours of integration.
Just keep the tradeoffs in view. A smart telescope is an imaging appliance with real optical limits. Used as an appliance, it is excellent. Used as a teacher, it is incomplete unless you export the data and learn what the stack is made of. Used as a companion to a traditional rig, it may be the most frequently used piece of equipment you own.
If you are starting from zero and the alternative is another year of watching other people’s images, a compact smart telescope in the current mid-range is one of the more sensible purchases in amateur astronomy. If you already know how to polar-align and want more resolution, put the same money toward mount, aperture, and a cooled camera. The sky does not care which path you took. Your clear nights will.